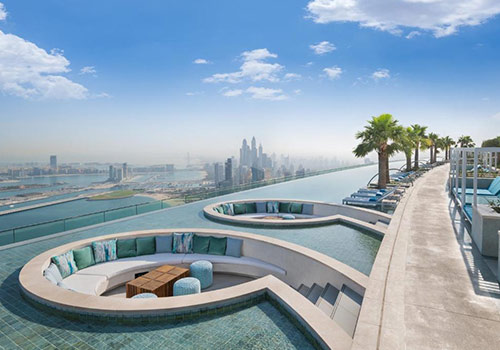
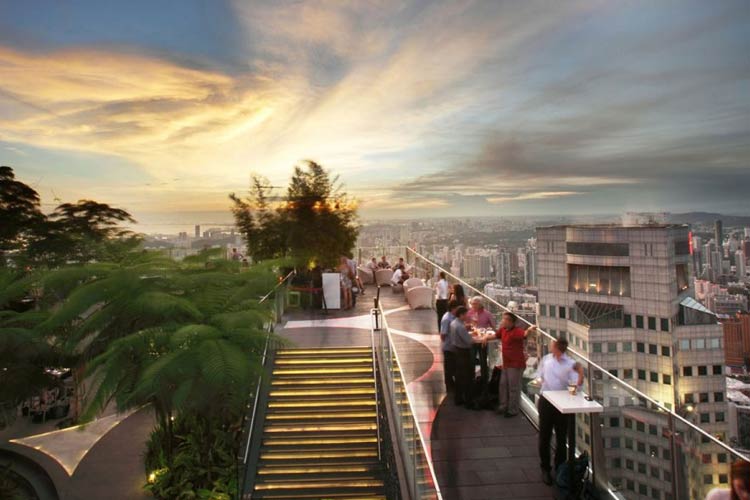
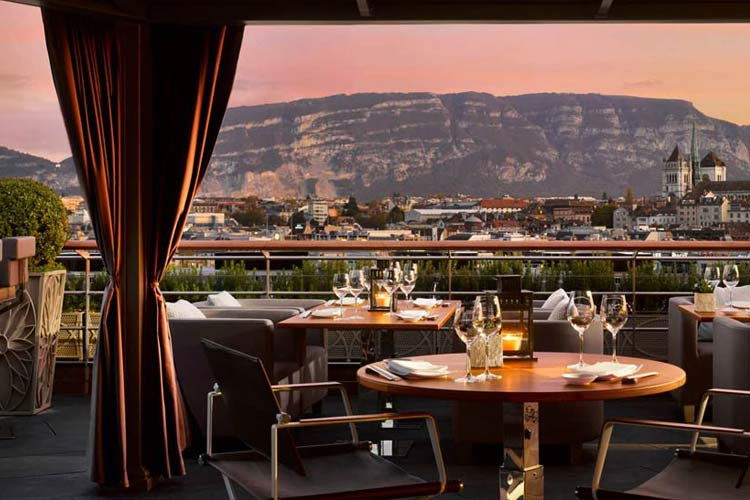
Rooftop photography allows the capture of the sky, providing a unique perspective for photo enthusiasts. However, the sky is unpredictable — you cannot control the weather or the lighting conditions, which are pivotal for the images to turn out perfect. The color palette of the sky from the rooftop is fascinating, but what if you do not see the color you need in the final shot?
The question of how to edit the sky in photos is important not only for professional photographers willing to share their art with the public but also for the enthusiasts who catch the beauty of the sky from a rooftop and want to keep it in their memory for longer
In the following sections, we will guide you through the techniques and tips required for sky enhancement, ensuring that even if the sky does not want to cooperate with you at the beginning of the image-capturing process, you will still be able to get a mesmerizing work of art as a final result!
One of the most sought-after enhancements in rooftop photography is the transformation of a dull or lackluster sky into a brilliant shade of blue. If the lighting or weather conditions let you down, you can take everything under your control during photo editing.
The first step is to experiment with saturation and vibrance by intensifying the tones of blue on the picture. Shift the image’s color temperature towards the cold (blue) shades. These options are available even in the most primitive photo editors.
Remember that if you don't want the whole image to be affected, select the sky area before editing. For example, you can use a gradient filter targeting the sky area. Consider using dodge and burn techniques for precise adjustment, but blend them seamlessly for the final picture to look realistic.
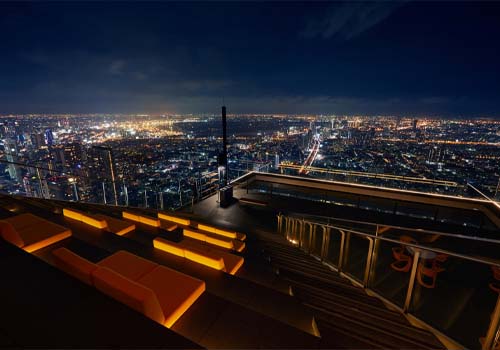
But there are also cases when the color of the sky is not the only thing you are dissatisfied with. You take a picture from a rooftop, and the sky turns out to be not what you expected — it is dull, uninteresting, not lighted enough, or you wish it to have the stars and the Moon. Here is when Sky replacement enters the game; we will get familiar with it below.
Is it possible to replace solely the sky on the image, making it more appealing without affecting other objects in your shot?
Many modern photo editing programs include sky replacement among their features, so you can easily enhance the sky on your photos during post-processing, having full creative control so the sky will perfectly match your composition and artistic vision.
Whether photographing a sunrise, sunset, or starry night, sky replacement empowers you to select the perfect sky to enhance your rooftop photos. It ensures that your images reflect the awe-inspiring moments you witnessed from that rooftop vantage point.
Next, we will walk you through the step-by-step process of sky replacement, from selecting suitable replacement skies to seamlessly blending them into your photos.
To replace the sky in your rooftop photos, you will need photo editing software such as Adobe Photoshop, Lightroom, Luminar Neo, etc. Then follow these steps:
Load your photo into the software of your choice.
Some software can include AI-based sky recognition to ease this part.
In case your software does not include sky presets, or you are not satisfied with the included presets, find an image of the sky you like and load it into the software.
Replace the original sky with the desired one and blend the layers (with the AI-based replacement tool or manually, depending on the software).
Erase the areas where the sky does not align with other elements. Pay attention to the edges and details you want to keep.
Ensure that the colors and lighting of the replacement element match your rooftop scene. Tweak exposure, sharpness, brightness, contrast, and saturation as you like.
Zoom in and scrutinize the image for any imperfections or artifacts. Make necessary local adjustments using brushes. Emphasize the important details and erase the unnecessary elements. Reduce the digital noise and crop the image if needed.
Create subtle vignettes to draw attention to the center of your image, enhancing the viewer's focus on the sky and rooftop subjects. Apply color grading techniques to harmonize the colors throughout your image. These techniques can give your rooftop photos a cohesive and professional look. Correct lens distortions and aberrations that may have occurred during the shoot.
Save the final image on your device in a preferred format.
It is important to note that overprocessing makes the edited element look unnatural, and it will rather distract the audience from the main object of your image instead of catching their eyes. Ensure the direction of the replaced element’s lighting matches the original image. Seams and blending issues are always noticeable, so select the elements precisely or trust the AI.
By mastering these techniques, you can seamlessly integrate captivating skies into your rooftop photos, enhancing their visual appeal and impact.
Rooftop photography offers a unique perspective, and the sky is a canvas that can set the tone and mood for your images. With the help of post-processing techniques, you can capture the essence of the sky and create rooftop photos that resonate with viewers on a deep level.
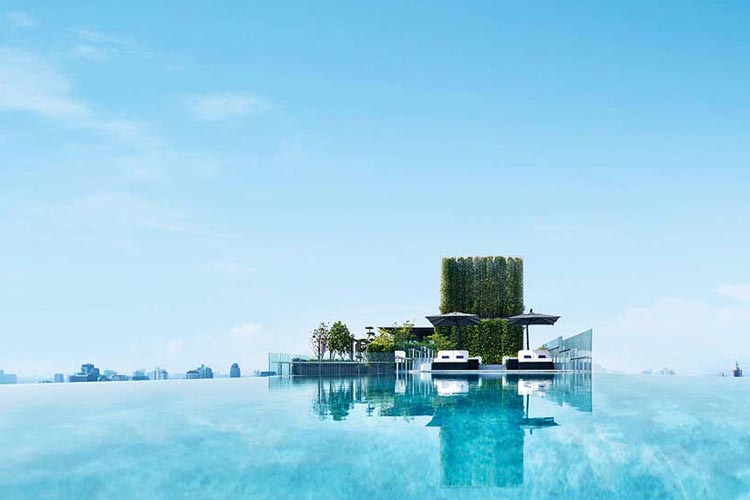
Making the sky blue is an art in itself. Adjusting colors lets you achieve vibrant, inviting blue skies in rooftop photos. Sky replacement is a powerful tool that enables you to have creative control over the skies in your images, ensuring that they align with your vision.
Post-processing is the final step in refining your rooftop images. It is an opportunity to balance the composition, correct imperfections, and add those finishing touches that make your photos stand out.
Embrace the sky, capture its essence, and let your creativity soar as you continue to create stunning rooftop photos that leave a lasting impression. The world is waiting to see the beauty you can bring to life through your lens!
Browse all the cities & articles at The Rooftop Guide


Follow The Rooftop Guide